Gardening fans know container plants need careful care to grow well. A great way to make gardening easier and keep plants healthy is to use a DIY drip irrigation system.
This method sends water straight to the roots, cutting down on waste. It makes sure your plants get the right moisture. This gardening tip leads to healthier plants and a more efficient garden routine.
Using a drip irrigation system saves a lot of time on watering. It lets you focus on other gardening tasks. It’s a simple yet powerful way to improve your gardening.
The Benefits of Drip Irrigation for Container Gardens
Drip irrigation in container gardens offers many benefits. It saves water and makes plants healthier. Water goes straight to the roots, cutting down on evaporation and runoff.
Water Conservation and Efficiency
Drip irrigation is very efficient, saving up to 50% of water compared to old ways of watering. It’s great for gardeners wanting to use less water.
Healthier Plants with Targeted Watering
Drip irrigation gives plants the right amount of water consistently. This reduces problems like too much or too little water. Stronger plants fight off diseases and pests better, needing fewer chemicals.
Time-Saving Advantages for Gardeners
Drip irrigation systems can be set to water plants automatically. This saves gardeners time and effort. They can set timers and adjust schedules easily. This feature is a big help for busy gardeners or those with lots of plants.
Some key benefits of drip irrigation include:
- Reduced water waste through targeted watering
- Improved plant health due to consistent moisture levels
- Time savings through automation
- Increased efficiency in watering large or multiple container gardens
Essential Materials and Tools for Your Project
To make a DIY drip irrigation system, start by gathering the needed materials and tools.
Basic Components Checklist
For a successful DIY drip irrigation project, you need the right parts. Here’s what you’ll need:
Tubing and Connectors
The heart of your drip irrigation system is the tubing and connectors. Use 1/2 inch or 1/4 inch tubing based on your garden size. You’ll also need barbed connectors to link tubes or connect them to other parts.
Emitters and Drippers
Emitters and drippers are key for watering your plants’ roots. Pick ones that fit your plants’ water needs.
Fittings and Adapters
Fittings and adapters let you tailor your system to your garden. You’ll need elbows, tees, and adapters for different sizes.
| Component | Description | Estimated Cost |
|---|---|---|
| Tubing | 1/2 inch or 1/4 inch | $10-$20 |
| Emitters/Drippers | Various flow rates | $5-$15 |
| Fittings/Adapters | Elbows, tees, adapters | $5-$10 |
Tools You’ll Need
To put together and install your DIY drip irrigation system, you’ll need some basic tools. You’ll need a utility knife or tubing cutter for cutting, a hole punch for emitter holes, and an adjustable wrench or pliers for tightening.
Budget Considerations and Estimated Costs
DIY drip irrigation is cost-effective. By picking the right parts and tools, you can make a good system without spending a lot. Costs vary by garden size, but a basic setup can start at $20-$50.
Planning Your DIY Drip Irrigation System for Container Plants
Planning well is key to a great DIY drip irrigation system for your container plants. A good plan makes sure your plants get the right water. This cuts down on waste and saves water.
Mapping Your Container Garden Layout
The first thing to do is map out your garden. Note where each container is, what plants are in them, and how much water they need. Accurate mapping is important for a smart irrigation system.
Calculating Water Requirements for Different Plants
Each plant needs different amounts of water. Grouping plants by their water needs helps water them efficiently. Learn what your plants need to plan your irrigation well.
Creating a System Diagram
It’s vital to draw a diagram of your irrigation system. This lets you see how water will flow. You’ll need to:
- Measuring Distances: Measure from the water source to each container to figure out tubing length.
- Planning Water Flow Paths: Choose the best path for water to flow, cutting down waste and making sure all plants get water.
Measuring Distances
To measure, start at the water source and follow the path to each container. Use a flexible tape to handle any obstacles or turns.
Planning Water Flow Paths
When planning paths, think about your garden’s layout and the water source’s location. Efficient paths mean less tubing and fewer leaks.
Setting Up Your Water Source Connection
A well-planned water source connection is key for your container garden’s drip irrigation system. It’s the main source of water for your plants.
Outdoor Faucet Connections
Connecting your drip irrigation system to an outdoor faucet is common. It’s easy, using a hose adapter to link the system to the faucet. Make sure the faucet is strong enough for your system’s water pressure.
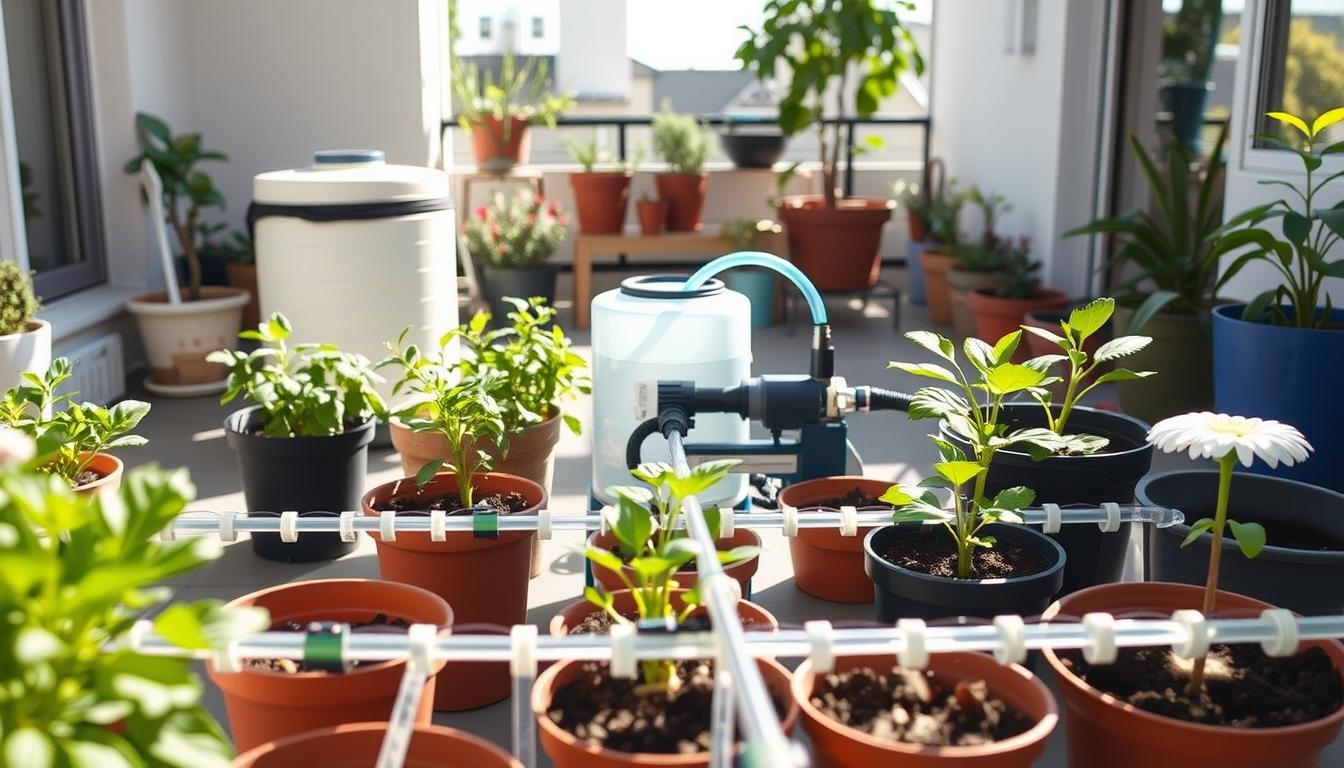
Alternative Water Sources
Looking to save water or lower your water bill? Consider using rain barrels or water tanks as alternatives.
Rain Barrel Integration
Rain barrels collect rainwater for your drip irrigation system. Rain barrel irrigation saves water and cuts down on stormwater runoff. You’ll need to connect it to your drip lines and might need a pump for pressure.
Water tanks are another option for storing water. They can hold rainwater or city water, depending on what you prefer and local rules. Think about the tank’s size, material, and if you need pumps or filters.
Installing Backflow Preventers and Filters
It doesn’t matter where your water comes from. You need backflow preventers and filters. They keep your water safe and your system clear of debris.
“Properly installed backflow preventers and filters are essential for the longevity and efficiency of your drip irrigation system.”
Keep these parts in good shape to make sure they work right.
Installing the Main Distribution Lines
Setting up your container garden’s irrigation system starts with the main distribution lines. This step is key to making sure your system works well.
Selecting the Right Tubing Size
Choosing the right tubing size is very important. The size depends on how many plants you’re watering and the water pressure. Usually, a 1/2 inch or 1/4 inch tubing is enough for most gardens. You need to find a balance between size and ease of use.
Proper Routing Techniques
Good routing is crucial for a great irrigation system. When setting up your lines, pick the easiest path and keep the length short. This saves money and ensures water flows evenly.
Securing Tubing Around Containers
Keeping the tubing in place is important to avoid damage. There are a few ways to do this.
Using Stakes and Clips
Stakes and clips are a common method. They keep the tubing organized and out of sight.
Hidden Installation Methods
For a cleaner look, you can bury the tubing a bit or run it along container edges. This looks better and keeps the tubing safe from harm.
By picking the right tubing size, using smart routing, and securing it well, you can make a drip irrigation system that works great for your container garden.
Customizing for Different Container Types
To get the most out of your drip irrigation, you need to tailor it to each container type. Each container is different, affecting how plants soak up water.
Solutions for Standard Pots and Planters
Standard pots and planters work well with a simple drip irrigation setup. Choose drip emitters that fit the pot size for the right amount of moisture. Big pots might need more than one emitter.
Hanging Basket Irrigation Techniques
Hanging baskets face unique challenges like wind and drying fast. Micro-tubing with tiny emitters can send water straight to the roots, cutting down on evaporation.
Raised Bed and Window Box Approaches
Raised beds and window boxes have many plants with different water needs. A zone-based irrigation system lets you water each plant just right, meeting their specific needs.
Self-Watering Container Modifications
Self-watering containers can be even better with a drip irrigation system. Adding a reservoir or tweaking the current system keeps the soil moist consistently.
Installing Emitters and Drippers
Installing emitters and drippers right is key for your DIY drip irrigation system to work well. These parts send water straight to your plants’ roots. This cuts down on evaporation and runoff.
Choosing the Right Emitter Types
Picking the right emitter type is important for good watering. Emitters vary, each fitting different plant needs and soil types.
Pressure-Compensating vs. Standard Emitters
Pressure-compensating emitters keep the water flow steady, no matter the water pressure. They’re great for systems with ups and downs in elevation or long lines. Standard emitters are simpler and cheaper but might not handle pressure changes as well.
Flow Rate Selection Guide
Choosing the right flow rate for your emitters depends on your plants’ water needs and soil. More water is needed for thirsty plants, while less is better for those that don’t need as much. Use the table below to pick the right flow rate for your plants.
| Plant Type | Recommended Flow Rate (liters/hour) |
|---|---|
| Drought-Tolerant Plants | 2-4 |
| Vegetables and Fruits | 4-8 |
| Water-Loving Plants | 8-12 |
Proper Placement for Different Plants
Where you put emitters and drippers is very important. For most plants, placing them near the base works well. But for big plants or those with lots of roots, you might need more than one emitter.
Installation and Testing Procedures
After picking and placing your emitters, it’s time to install and test them. Make sure all connections are tight and the system has no leaks. Testing it under real conditions will show if there are any problems, like clogged emitters or uneven water.
Creating Efficient Watering Zones
To make your DIY drip irrigation system work best, it’s key to set up watering zones for your plants. These zones help ensure each plant gets the right amount of water. This approach cuts down on waste and helps your plants grow strong and healthy.
Grouping Plants with Similar Water Needs
One smart way to organize your watering zones is to group plants by their water needs. For example, succulents and cacti need less water than ferns and peace lilies. This way, you can water each group as needed, making sure they get the right amount of moisture.
| Plant Type | Water Requirement | Ideal Watering Frequency |
|---|---|---|
| Succulents/Cacti | Low | Every 7-10 days |
| Ferns/Peace Lilies | High | Every 2-3 days |
| Herbs/Vegetables | Moderate | Every 3-5 days |
Using Manifolds and Zone Valves
Manifolds and zone valves are vital for managing water flow in your irrigation system. Manifolds help distribute water to different parts of your system. Zone valves let you control water to specific zones, so you can adjust watering based on each zone’s needs.
Adjusting Water Delivery for Sun Exposure Variations
Plants in full sun need more water than those in shade. By adjusting water delivery based on sun exposure, you can meet each plant’s moisture needs. You can use adjustable emitters or set up separate zones for plants with different sun needs.
Seasonal Adjustment Strategies
As seasons change, so do your plants’ water needs. It’s important to adjust your irrigation system seasonally. For example, plants may need more water in hot months and less in cooler ones.
Automating Your Container Irrigation System
Take your DIY drip irrigation system to the next level by automating it. This makes your container garden healthy and thriving with little effort. Your plants will get water just when they need it.
Timer Options and Installation
Timers are key in automating your irrigation system. They let you control when and for how long your plants get water.
Basic Mechanical Timers
Basic mechanical timers are simple and affordable. They’re great for small container gardens because they’re easy to install and use.
Digital and Smart Controllers
Digital and smart controllers offer advanced features. They include programmable schedules and can be controlled via smartphone apps. These are perfect for bigger or more complex systems.
Programming Optimal Watering Schedules
After installing your timer or controller, setting up the best watering schedule is important. You need to decide how often and for how long to water. This depends on your plants’ needs and the local weather.
Moisture Sensors and Weather-Based Controls
Adding moisture sensors and weather-based controls can make your system even better. Moisture sensors check the soil’s moisture and adjust the watering schedule. Weather-based controllers water based on the forecast, so you don’t water when it rains or is humid.
Maintenance and Seasonal Care
To keep your drip irrigation system working well all year, regular upkeep is essential.
A well-kept system lasts longer and makes sure your plants get the right water at the right time.
Regular Inspection Routines
Checking your system often helps catch problems early.
- Look for leaks in the tubing and connections.
- Check emitters and drippers for clogs or damage.
- Make sure water is evenly spread among all plants.
Cleaning Procedures for Components
Cleaning your drip irrigation system’s parts is vital for its efficiency.
Key components to clean include:
- Filters: Clean or replace them as needed to avoid clogs.
- Emitters and Drippers: Soak in water and vinegar to remove mineral buildup.
- Tubing: Flush it regularly to get rid of debris.
Winterizing Your System
It’s important to winterize your drip irrigation system to avoid damage from cold.
- Drain all water from the system.
- Use compressed air to remove any leftover water.
- Keep sensitive parts in a place that won’t freeze.
Spring Startup Process
When spring comes, it’s time to turn on your drip irrigation system again.
Here’s how to do it smoothly:
- Check the system for winter damage.
- Put back any parts you took out for winter.
- Test the system to make sure it’s working right.
- Adjust the watering schedule for the new weather.
Conclusion
Creating a DIY drip irrigation system can change how you garden in containers. It saves water and makes plants healthier by watering the roots directly.
We’ve shown you how to set up your own drip irrigation system. We covered planning, mapping your garden, and installing emitters and drippers. These steps will help you get started.
Using a DIY drip irrigation system has many benefits. It saves water, makes plants healthier, and cuts down watering time. By following these tips and tailoring your system to your plants, you’ll have a thriving garden.
Now, it’s time to use what you’ve learned. Start planning your DIY drip irrigation system today. Enjoy the benefits of efficient container gardening.